Building an HTML to PDF API using Go and wkhtmltopdf

Generating PDFs in code is difficult. Many solutions revolve around unfamiliar proprietary APIs that require pixel perfect placement of text and images that can become a nightmare in the long run.
This tutorial uses HTML, CSS, and Go to achieve a lightweight, modern approach to dynamically creating and serving PDFs from an API endpoint.
| Table of Contents |
|---|
| Getting Started |
| The Code |
| 1. Creating HTML Templates in Go |
| 2. Creating PDFs in Go |
| 3. Handling API Requests |
| 4. Running the Project |
| Hot Reloading our PDF |
| Help Resources |
Introduction
This tutorial follows how our team replaced our exsting PDF generation system. The decision for us to use wkhtmltopdf was primarily driven by our use of Golang on the backend and the allure of keeping our services as small as possible.
With this, the following is a tutorial on how to set up your own Go and Wkhtmltopdf based dynamic PDF api. We recognize some teams may be interested in a Chromium/Puppeteer approach to PDF’s and I’ve linked some helpful articles to get you started below.
Getting Started
Assumptions
This tutorital is for you if
- You are looking to generate PDFs
- You have some familiarity with:
- Go
- API / Webservers
- HTML, CSS, etc
- You’re looking to learn something new!
If any of these do not pertain to you, there are plenty of resources on the web to get you started. This is mainly as a pre-emptive measure to establish who my audience is in this article.
Installation
For this tutorial we will be using golang, wkhtmltopdf, go-wkhtmltopdf, and gorilla mux.
I won’t go into installation steps, but I have linked their respective download pages above. Once everything is installed you should be able to run the following:
# go
$: go version
go version go1.17 darwin/amd64

# wkhtmltopdf
$: wkhtmltopdf --version
wkhtmltopdf 0.12.5 (with patched qt)
Project Setup
I will be using a simple golang project setup for this tutorial. There are additional steps you might want to incorporate for a production ready solution but this should at least provide a good proof of concept for you to integrate into you or your team’s workflow.
I’ve included a completed template project if you want to just skip to code.
If you’d rather follow along, lets get started!
First we will create our folder scaffolding and initialize the go module. The following sections in the tutorial will go through building out each piece of the PDF generation process.
# Make directory
mkdir html-to-pdf && cd ./html-to-pdf

# Creates a local go module
go mod init html-to-pdf

# Install Dependencies
go get github.com/SebastiaanKlippert/go-wkhtmltopdf && go get github.com/gorilla/mux

# Create our main.go
touch main.go
In the main.go copy and paste this boilerplate
package main

import (
	"fmt"
	"log"
	"net/http"
	"os"

	"github.com/gorilla/mux"
)

func main() {
	r := mux.NewRouter()
	r.HandleFunc("/", func(w http.ResponseWriter, r *http.Request) {
		fmt.Fprintf(w, "Lets create some PDFs!\n")
	})
	fmt.Println("Listening on port 3000")
	log.Fatal(http.ListenAndServe("localhost:3000", r))
}
The following snippet initializes and starts a simple web server. We will be using this web server to test our PDF generation code, so it is important you have a tool such as Postman or familiarity with cURL for testing these changes.
To test the server we just created run:
# In one terminal run:
-> $ go run main.go
Listening on port 3000 # <-
...

# Open a second terminal and run
-> $ curl http:localhost:3000
Lets create some PDFs! # <-
The Code
The following paragraphs run through the code in the template project I created for this blog post. If you prefer coding along, please continue!
Creating HTML templates in Go
Our goal for this service is to create the skeleton of our PDF in html and have the service spit out a PDF at the end. Luckily for us Go’s built in html/template library wonderfully handles this for us.
In order to setup our templates we need to define a few things.
- We need to create a data model for the information we want to use in our HTML template
- We need to create the actual html template file
- Optional - Setup any static assets we want to use, think images, fonts, etc
1. Create a data model for our HTML templates
Production PDF systems handle lots of different PDF types with custom data models to go along with them. Our PDFs are no different. We will want to create a struct to handle the fields for our PDF (and a new one of any new PDFs in the future), and also define a helper function that allows us to setup data in a way that is more friendly for the HTML template to consume.
Lets create a directiory for our pdf provider called model, and create a file in it called pdf.go.
mkdir model && touch ./model/pdf.go
In model/pdf.go paste the following snippet:
What we added:
- A Model called
PDFthat can be used for:- Our API Body contract
- Our HTML template data
- A New function for initializing a model object
- A
FillMissing()function to process some data before we pass it into the HTML template
One thing to note, we pass the AssetsDir into the model to let the go template engine know how to navigate to any static assets that we pass in. We could hardcode this during our tests, but the path may change once the application is built and deployed. Having this as a configuration helps us avoid that issue down the line.
2. Create the HTML template file
Now that we have a model for our HTML file, we can create the template itself. I typically like to separate my HTML files from my Go files just for clarity, but you can do whatever you want to do.
Lets create a directiory for our HTML files called templates, and create a file in it called PDF.html.
mkdir templates && touch ./templates/PDF.html
In templates/PDF.html paste the following snippet:
This snippet is our starting point for a fully functional PDF. Although this document is a normal .html document, it has some special go template syntax in it that allows go to inject variables when we compile our documents. If you’re new to go’s html templates, checkout Go web example’s great reference for Go template syntax..
HTML Structure for PDFs
Creating a PDF from HTML is like creating any other document, but there are some gotchas and some things to remember when we’re writing HTML for a static target such as a PDF.
In the document above you will notice the <body> is composed directly of children that have a class of .page. We need to tell our PDF compiler (wkhtmltopdf) where one page stops and another page begins.
We do this through a few lines of CSS that tell the “engine” when to break:
.page {
    page-break-after: always;
}

...

.page:last-of-type {
    page-break-after: avoid;
}
These lines tell wkhtmltopdf to always treat the end of any element with the .page class as an individual page, and then when we reach the very last page in the document, that is where we want to stop the document.
WebKit QT HTML
Good News: We can create PDFs using HTML in a fast and efficient way
Bad News: WebKit QT 4.8.1 (current LTS for wkhtmltopdf) only supports a subset of the HTML5 spec and CSS spec.
The reason I mention this is that we don’t have certain tools such as flexbox or css grid at our disposal. That being said, with a little open mind, developing a static document that won’t change due to variable screen sizes or devices doesn’t need those properties to be effective!
Here are a list of references from the QT Spec:
- QT Supported HTML Subset
- QT Supported HTML Tags
- QT 4.8 Support CSS Subset
- QT 4.8 Support CSS Selectors
3. Create the HTML Template Provider
We currently have a HTML template to be consumed by our application, but in order to do anything with it, we need to write some code for Go to load the template and be able to compile HTML docs with our data model.
Lets create a directiory for our template provider called template, and create a file in it called provider.go.
mkdir template && touch ./template/provider.go
In template/provider.go paste the following snippet:
This code is providing some helpful methods that allow us to easily load our HTML templates (helpful when we start adding more PDF doc types), and having Go compile our HTML docs with the PDF model we created above.
The first thing we do is expose a HTMLTemplate struct and initialize it. Since we want our HTML templates during runtime, the template package exposes a helpful .Must() method that will only allow the API to run if it can safely load in our templates. Next we’re able to select all of our HTML templates with the ParseGlob() function.
In our interface we’re exposing a Compile(data interface{}, name string) method that handles injecting the data model into the HTML template and spitting out a buffer of that data. Wkhtmltopdf takes in a buffer array so we can simply take the return value from this function and pass in to the PDF provider.
Golang’s templating engine allows us to name templates in the actual HTML doc, and when we’re ready to generate our html doc, we can tell Go which template we want to reference. If you remember from above, we wrapped our HTML doc in a {{ define "PDF" }} ... {{ end }} statement. This is where we are naming the HTML doc for Go. So the templates.ExecuteTemplate function will look for any template that matches that name, pass in the data model that we also passed as a our interface{}, and spit out the bytes for that compiled template. Its magic.
With that the groundwork for our HTML templates is complete. Next we need to setup the PDF provider so that we can actually generate our PDF document!
Creating PDFs in Go
The crux of this entire project lies in creating PDFs. We’ve decided to use wkhtmltopdf to handle the HTML to PDF part, but how does it actually work?
From the wkhtmltopdf website:
wkhtmltopdf and wkhtmltoimage are open source (LGPLv3) command line tools to render HTML into PDF and various image formats using the Qt WebKit rendering engine. These run entirely “headless” and do not require a display or display service.
In our application we will be using the go-wkhtmltopdf wrapper to programmatically call the wkhtmltopdf command line tool to handle our conversion process.
Create the PDF Provider
Lets create a directiory for our pdf provider called pdf, and create a file in it called provider.go.
mkdir pdf && touch ./pdf/provider.go
In pdf/provider.go paste the following snippet:
The first thing we’re doing here is creating our PDFProvider struct and PDFProviderInterface. This allows us to intialize one provider when the service starts and re-use it between all our network requests.
The main ingredient here is the CreatePDF method.
First we create a NewPDFGenerator which handles loading in the bytes of our HTML file, setting the render settings for the PDF, and actually creates the PDF for us.
Next we insert our HTML bytes into a pdf page reader, and set the settings we want for our PDF.
// For Speed Optimization
page.DisableJavascript.Set(true)
// For accessing static assets
page.EnableLocalFileAccess.Set(true)

pdfg.AddPage(page)

// Reset default settings from wkhtmltopdf
pdfg.MarginTop.Set(0)
pdfg.MarginBottom.Set(0)
pdfg.MarginRight.Set(0)
pdfg.MarginLeft.Set(0)

// Set the Qt page size:
// see https://doc.qt.io/archives/qt-4.8/qprinter.html#PaperSize-enum
pdfg.PageSize.Set("Letter")
pdfg.ImageDpi.Set(300)
pdfg.ImageQuality.Set(40)
pdfg.LowQuality.Set(true)
These settings are pretty basic, but from our experience these provide a good balance of performance and quality for our PDFs. You may want to run your own tests depending on how much content your PDF’s contain.
Now our PDF Provider is complete.
Handling API Requests
At this point we are ready to start wiring everything together. We have our HTML template, template provider, data model, and pdf provider, now lets get everything hooked up so that we can connect to it over the network.
For simplicity we will lump everything into the main.go we created at the beginning. For a more testable solution, you may want to place your router and handler code in their own packages.
Using the main.go we had before, lets paste in some new code that creates a POST route for creating our PDF. In main.go paste the following snippet:
Handler Context
The first thing we need to do is create a struct that can contain the context of all the services it needs access to. In this case we created the Context struct with the following fields:
type Context struct {
    WorkingDir string
    Templates  template.HTMLTemplateInterface
    PDF        pdf.PDFProviderInterface
}
This structure allows us to create one object with all the functionality we need for the API handlers to compile templates, create PDFs from those templates, and return back to the user.
Next we define a HTTP handler function that we will use to handle incoming http requests, generate PDFs and send them back to the user. I won’t touch on the http specifics of this function but highlight our PDF steps:
func (c *Context) handleRequest(w http.ResponseWriter, r *http.Request) {
    // 1. Parse the request body
	j := json.NewDecoder(r.Body)
	pdfModel := model.NewPDFModel(c.WorkingDir)

	err := j.Decode(pdfModel)
	if err != nil {
		w.WriteHeader(http.StatusBadRequest)
		w.Write([]byte("Malformed request: " + err.Error()))
		return
	}

    // 2. do any additional work
	pdfModel.FillMissing()

    // 3. create the HTML document
	t, err := c.Templates.Compile(pdfModel, "PDF")
	if err != nil {
		w.WriteHeader(http.StatusInternalServerError)
		w.Write([]byte("Error creating purchase agreement template: " + err.Error()))
		return
	}

    // 4. create the pdf
	pdf, err := c.PDF.CreatePDF(t)
	if err != nil {
		w.WriteHeader(http.StatusInternalServerError)
		w.Write([]byte("Error generating purchase agreement PDF: " + err.Error()))
		return
	}

    // 5. return the PDF to the end user
	w.Header().Set("Content-Type", "application/pdf")
	w.Write(pdf)
}
- The first thing we do is parse the incoming POST requests JSON body and unmarshal it into our
pdfModel.- Note that we would will most likely have our own handler function for each new PDF type we create. Whenever we add a new PDF, that handler will be responsible for unmarshalling into its own data type and so forth. For things like this, its important to have that level of specificity since each data type and document may have their own unique needs and constraints.
- If you remember from above we created a
FillMissing()function on our model. At this point we want to ensure we have all our data processed and ready for compiling the html doc - We compile the HTML doc passing in our data model and the type of PDF we want to create.
- We totally could create an
enumfor our PDF types. I have done this on some projects. For this blog post though, passing strings is Ok.
- We totally could create an
- We create the PDF document from our HTML document
- We send the PDF bytes back to the user with
Content-Type: application/pdf.
Lastlly in main(), we initialize our providers, create our Context object, and define a new POST api route on path /pdf that connects to our c.handleRequest function we mentioned above.
Running the Project!
In order to try this out we need to start the service and then send a HTTP POST request to http://localhost:3000/pdf. You can use any http tool of your choice. I have provided a cURL command that your can use below:
curl -X POST http://localhost:3000/pdf \
-H 'Content-Type: application/json' \
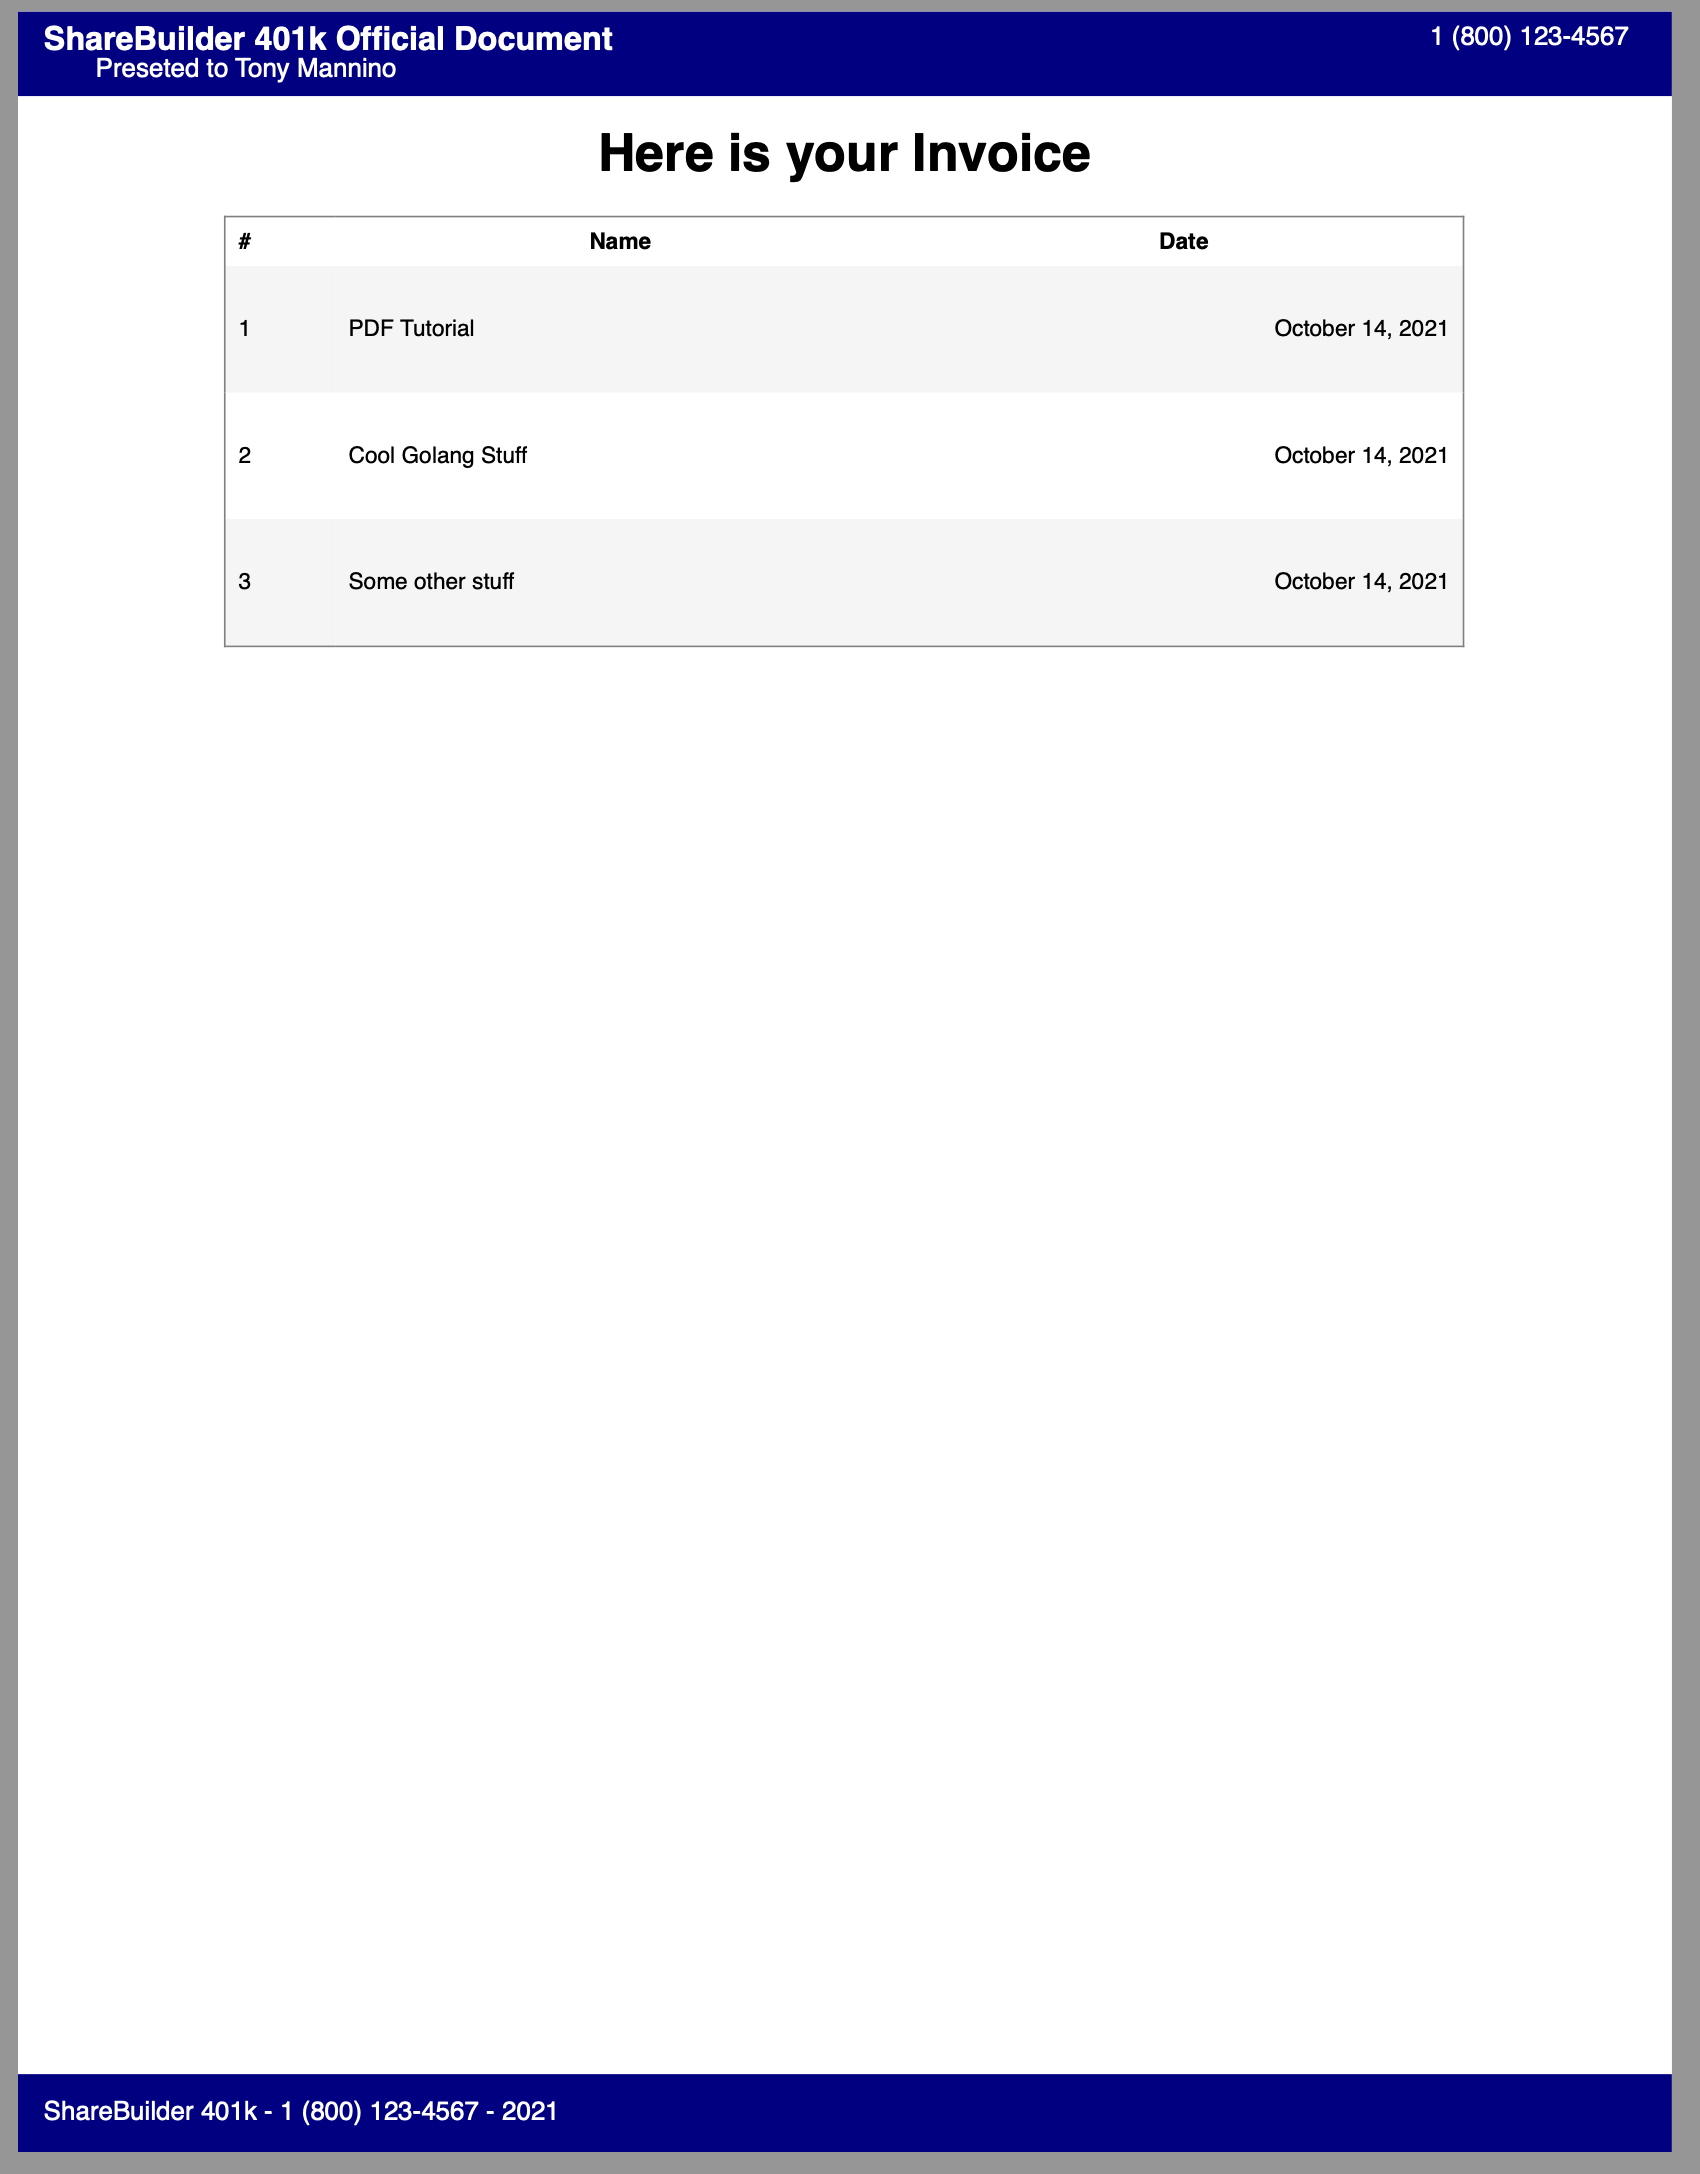
-d '{ "FirstName": "Tony", "LastName": "Mannino", "CompanyName": "ShareBuilder 401k", "PhoneNumber": "1 (800) 123-4567" }' \
--output file.pdf
Start by running the application with go run main.go. In a new terminal window copy the command above (or use your own tool of choice) and run it in the terminal. This should create a new file called file.pdf with the PDF bytes that were returned from our API endpoint!
Once the test is complete, open the file and you should see a PDF similar to the image below!

And with that we are done!! Our POC goal of taking some HTML and creating a PDF with Golang is complete. If this was enough for you, you can skip ahead to the wrapping it up section and checkout the help resources at the bottom. Otherwise there are a few developer experience things I want to cover surrounding creating and testing PDFs efficiently!
Hot Reloading our PDF
Thinking ahead to implementing this into our workflow, the process of designing our HTML, editing it’s CSS, and creating the PDF currently isn’t the best experience. We would have to edit the HTML doc, restart our server, run our curl command and then open the PDF file every single time just to test some changes. This is not a very efficient or sane approach to developing PDFs.
We have been using this type of PDF service in our own codebase for a few years now and have developed some small enhancements that make the process a lot better. I will go over a quick solution to get us off the ground and then open up any further local testing to you and your team’s discretion. I recognize not all teams work the same or have the same needs.
There are a number of directions we can go about this, but for now I will leave you with a simple approach I’ve been using to write this blog post. To build in hot reloading we need 2 things:
- The ability to listen for changes
- The ability to tell the application to do something special in the event that we’re running locally or developing in a special way.
1. Listening to File Change events
For the first part I have been using the cli tool nodemon. Nodemon allows us to listen to a file or directory for any changes, and whenever a change occurs trigger some other command to do something. In our case we can listen for changes to our templates directory which holds our html templates and have it send our cURL command from earlier each time it senses the template was updated.
If you don’t have the Node.js toolchain installed you can look into similar tools such as a Golang specific tool called air, but I will be going with nodemon since its fairly common.
For simplicity lets install nodemon globally and setup a command to run. Alternatively you can setup a package.json file and save our script in the scripts section, but this is just a PoC.
Install command: npm install -g nodemon
Run command:
nodemon --exec "curl -X POST http://localhost:3000/pdf -H 'Content-Type: application/json' --output file.pdf -d '{ \"FirstName\": \"Tony\", \"LastName\": \"Mannino\", \"CompanyName\": \"ShareBuilder 401k\", \"PhoneNumber\": \"1 (800) 123-4567\" }'" ./templates/PDF.html
2. Tell the application we’re in development mode
This solution is by all means quick and dirty, but at the end of the day it gets the job done and we move on.
To implement this piece we’re going to introduce a Development bool flag in our Context struct. We can configure this at run time (it will be static for now), and tell the application to do some special stuff while we’re developing locally. This flag is no different from a DEBUG statement flag you may use in your logging frameworks.
To start you can paste the following snippet into main.go:
The main thing we did here was add our Development flag to Context, set it to true, and then add some new development code.
The first section on line 36 pulls a fresh copy of the HTML templates from the file system. If we didn’t have this line, the application would only use the version of our HTML templates it has in memory, and not receive the changes we were making locally (without restarting the server of course).
With this our hot reloading works! Now you can start the web server (go run main.go), start the nodemon script from above, and open the file.pdf file, and each time you make a change the file will reflect those changes!
Wrapping it up
Through this blog post we were able to go through the basic concepts of dynamically generating PDF’s in Go. These services are simple but have the potential to service a robust dynamic PDF system.
I hope you learned something and if anything got inspired to learn and build something new.
Best, Tony
Help Resources
Resources
Tutorials
QT HTML Resources
- QT Supported HTML Subset
- QT Supported HTML Tags
- QT 4.8 Support CSS Subset
- QT 4.8 Support CSS Selectors
Dockerfiles
Many development teams utilize Docker for containerizing their build and runtime systems. I want to share some base configurations for a Go build Dockerfile and runtime Dockerfile which both have wkhtmltopdf installed as a baseline. Depending on your infrastructure, you can create images from the dockerfiles and use them together in Docker multistage builds.